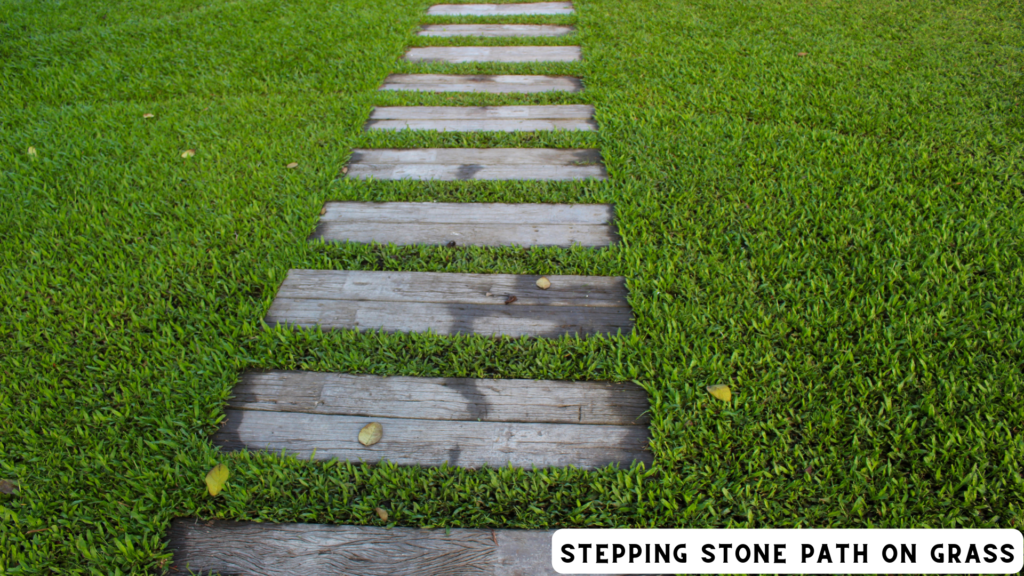
Creating a stepping stone path on your grassy lawn can add charm and functionality to your outdoor space. Whether you want to enhance the aesthetics of your garden or provide a practical pathway, laying stepping stones on grass is a great DIY project. In this step-by-step guide, we’ll explore the process of setting stepping stones on grass and provide useful tips to ensure a successful installation.

Can you just lay stepping stones on top of the grass?
When it comes to laying stepping stones, it’s essential to provide a stable foundation. Simply placing the stones on top of grass is not recommended, as they can shift or sink over time. To ensure longevity and stability, it’s crucial to prepare the ground properly before laying the stepping stones.
How to set stepping stones on grass?
1. Planning and preparation
- Start by deciding the layout of your path and mark the desired locations for the stepping stones. Consider the length, width, and shape of your path.
- Measure the dimensions of the stepping stones and calculate the spacing between each stone. A typical recommendation is to leave a gap of around 2-4 inches between stones.
- Use stakes and string to outline the path, following your planned layout.
2. Ground preparation
- Remove any existing grass, weeds, or debris from the path area. Use a shovel or a garden rake to level the ground.
- If the soil is compacted, consider aerating it to improve drainage. This will help prevent water accumulation around the stepping stones.
3. Adding a base layer
- To provide stability, it’s advisable to add a base layer of crushed gravel or sand. Spread a 2-3 inch layer of the chosen material evenly over the prepared ground.
- Use a tamper or the back of a shovel to compact the base layer, ensuring it is firm and level.
4. Placing the stepping stones
- Carefully position each stepping stone on the compacted base layer, following the marked locations.
- Gently press down on each stone to set it in place. Ensure they are level and have a stable footing.
How to lay a path on grass?
1. Edging the path
Install edging material, such as plastic or metal strips, along the sides of the path. This helps contain the stones and prevents the grass from encroaching.
2. Filling the gaps
Fill the gaps between the stepping stones with a suitable material, such as fine gravel, crushed stone, or mulch. This not only enhances the appearance but also helps stabilize the stones.
3. Securing the path
To ensure the stepping stones remain in place, you can anchor them further by embedding them partially into the ground. This provides additional stability, especially in areas with heavy foot traffic.
What to put under stepping stones?
Adding a layer of sand or crushed gravel underneath the stepping stones can improve stability and prevent shifting. The base layer helps distribute the weight evenly and minimizes the risk of sinking or tilting. It also aids in proper drainage, reducing the chances of water pooling around the stones.
Explore different types of driveway paving for inspiration
For inspiration on other types of paving, you can explore different options such as asphalt, concrete, cobblestone, or interlocking pavers. These materials can be used to create stunning driveways that complement your stepping-stone path. Learn more about various driveway paving options in our article “10 Different Types of Driveway Paving in the World.”
Conclusion
Creating a stepping stone path on your grass can transform your outdoor space and provide a functional walkway. By following the step-by-step guide outlined above, you can ensure a successful installation of your stepping stone path. Remember to properly prepare the ground, use a stable base layer, and secure the stones for long-lasting results. Enjoy the beauty and convenience of your new path as you navigate through your garden with ease.